|

|
There's now a Bookbinding Message
Board HERE
|
|
Making a Wish Scroll One of the best things about the internet is the way it brings together people with common interests who would never otherwise meet. I've been corresponding with Lillian, a Norwegian lady, whose hobby is also bookbinding and whose English is so good that it's difficult to believe it isn't her first language. She happened to ask if I'd ever made a wish scroll. Not only had I never made one, but I'd never even heard of them. When I checked them out, I found that they originated in Nigeria where they are used as a talisman. Apparently people there write a prayer, cure or wish on a small scroll, which they then store in a leather or metal container. I loved the idea and it was interesting to find that many of the links I found were to bookbinding websites. When I started to make them myself, I understood why they were so appealing to bookbinders. If
you like what you see, wish scrolls like the one below can be
bought in my online
shop, which gives all its profits to PDSA,
the UK's largest veterinary charity.
|
|
|
|
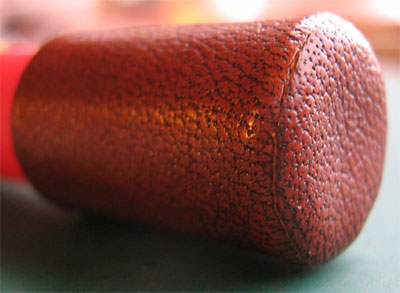
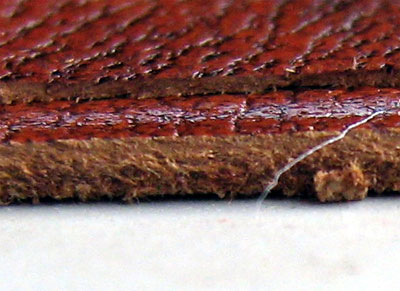
I began by using up the small scraps of leather that all bookbinders have lying around, but found that chromium dyed leather, which is much softer than bookbinding leather was much easier with which to work and produced a better finish. The chromium dyed leather I had here was left over from a previous addiction to covering empty and well washed cat food tins in leather and turning them into pencil holders. (You had to see them, but they sold very well and raised a satisfying sum for PDSA, the charity with whom I'm a registered volunteer.) The leather was far too thick to use for such a tiny item as a wish scroll however, so the first step was to put it through the paring machine. The piece draped over the top is the "waste". Click on the picture to see the difference in the thickness of the leather after it has been pared. It is now no more than a millimetre thick and very pliable.
|
|
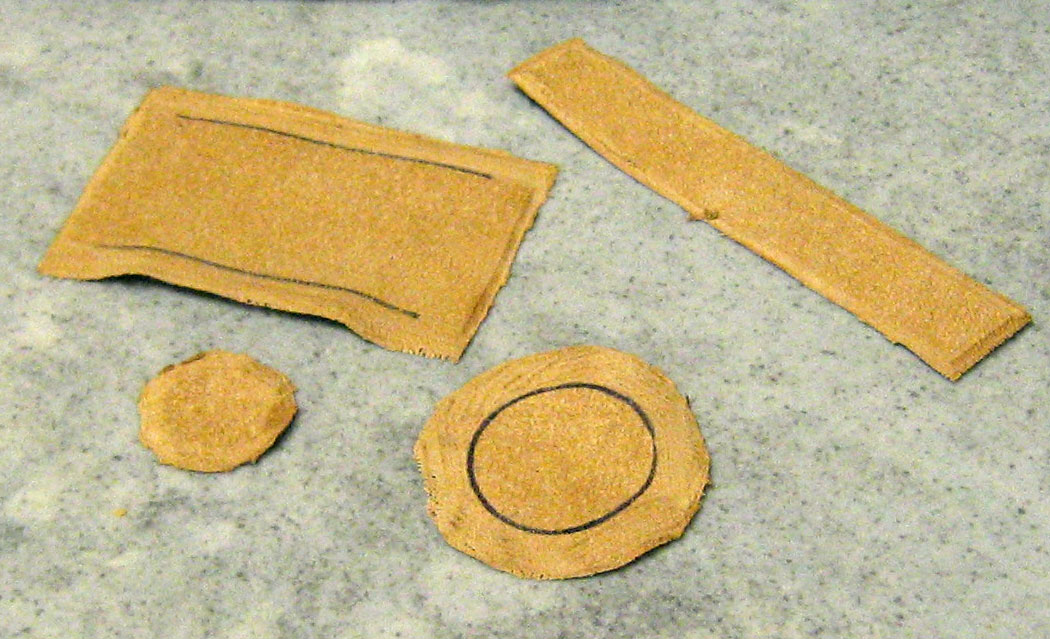
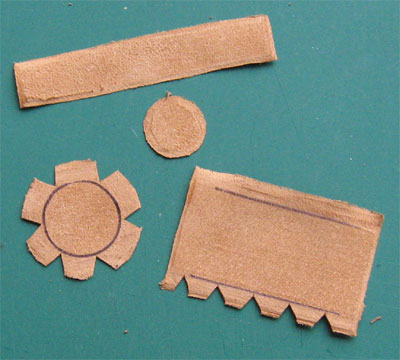
Each container needs 4 separate pieces of leather. When I first began, I made card templates as the measurements have to be precise for the finished containers to look good and, most importantly, so that the lids are a snug fit. (I also discovered that, unlike much of the maths I learnt at school, 2TTr still has its practical uses!) The most economical layout is for 2 wish scrolls, so I've used the templates to draw outlines of 2 on the leather. |
|
|
|
The leather is carefully cut out, and despite already having been pared once, the edges are pared again so that they are almost paper thin. Click on the picture to see a close up of the pared leather.. |
|
The final piece of preparation is to cut wedges out of one end of the leather which will go around the body of the container and also out of the round piece of leather that will cover the lid. This gives a neater finish. |
|
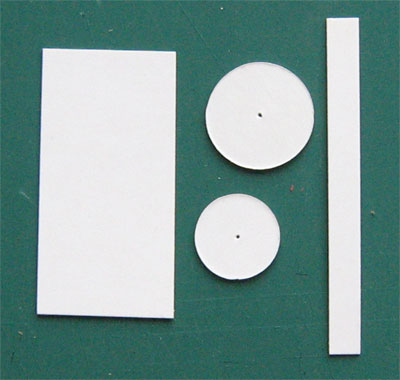 |
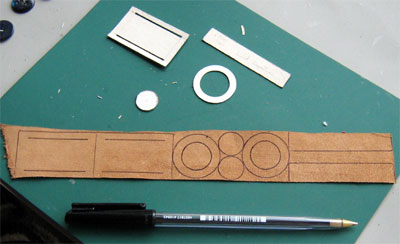
Next step is to cut a carcass for the container out of card. Again, there are 4 separate pieces and again, the measurements are very precise. When I acquired a compass cutter a couple of years ago, because it happened to be in a pack that contained something else I wanted, I had no idea it would be so useful!
|
|
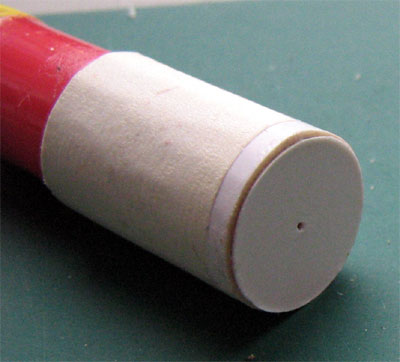
The larger rectangular piece of card and the smaller disc make the tube. The tube is held together with masking tape and a dab of PVA on the rim holds the disc in place. I find it easiest to work with the tube fitted onto the shank of an old brush. At this stage it is quite a loose fit. |
|
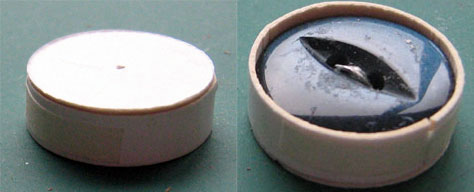 |
The lid is made in much the same way with masking tape holding the rim together and a dab of PVA fixing the top in place. The button is an exact fit and helps to keep the shape of the lid nice and round. |
|
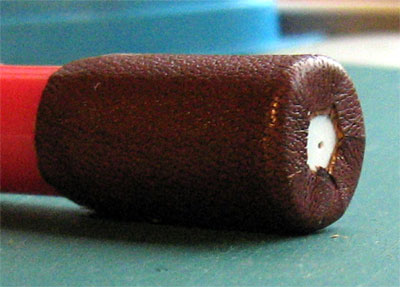
The leather is glued to the side of tube and the overlap eased over and pressed onto the card base with a bone folder. The wedges that were taken out ensure that it lies flat. |
 |
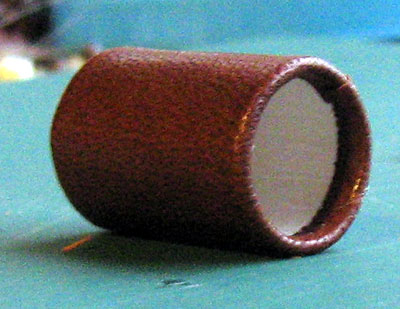 |
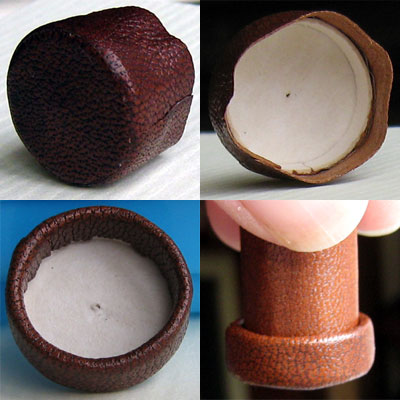
The container is taken off the brush shank and the overlap at the top turned in and smoothed down with a bone folder. When it is put back onto the brush shank it is a very neat fit indeed, which helps to make it perfectly round. |
|
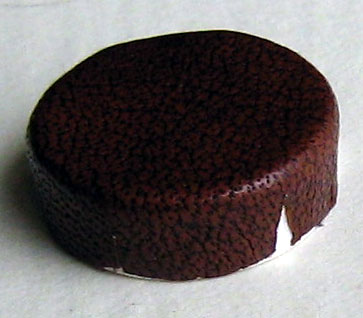
The smaller of the 2 leather circles is glued onto the bottom of the container to neaten it off. Because the leather at the very edges has been so finely pared, the join is unobtrusive. |
 |
 |
The larger circle of leather is glued to the lid and again, the wedges of leather that were cut out ensure that there are no overlaps on the rim. (Despite the apparently changing colours of the leather, due to the varying light and my shortcomings as a photographer, the same piece of leather has been used from start to finish.) |
|
The lid is finished off by adding the long narrow strip of leather to the rim. The join where it meets the top is worked with a bone folder to obtain as seamless a finish as possible. The bone folder is also used to smooth out the turn-in. The lid is a snug enough fit that when the container is held upside down, it still remains in place. |
 |
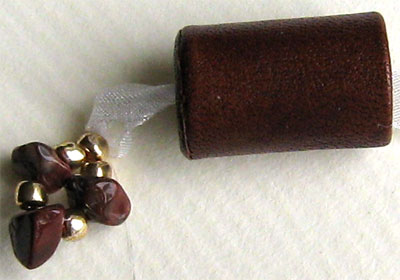 |
The holes made by the compass cutter when I cut out the card circles are useful guides for where to pierce the leather so that the ribbon and ornamentation can be added. The ribbon is drawn through the bottom of the container with a crochet hook and the beads are tied to it with the ends of the filament on which they are strung. The filament is then drawn through to the inside of the container and trimmed. I like to include natural materials in the decoration and these brown stone chips match the leather very well. I have no idea what they are, but I bought them from a reputable shop and am assured they are some kind of semi precious stone. My guess would be jasper, but I'm a bookbinder, not a jeweller, so I could very easily be wrong! |
|
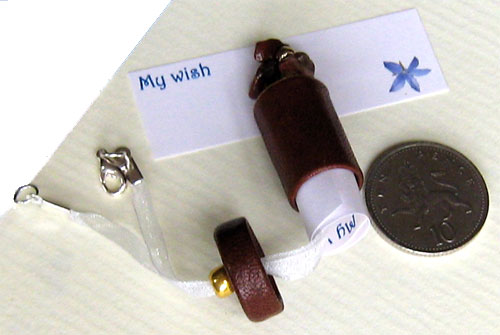
The ribbon is drawn through the lid and a bead and a lobster clasp are added. Finally the wish scroll itself is inserted. The coin is a 10p piece, to give an idea of the finished size. I've made the ribbon on this one very short, partly because it's much easier to photograph, but mostly because this wish scroll will be stay here with me and I like to hang them from a handbag. |
 |
|
The wish scroll shown in these pictures was made on 17th and 18th August 2010 Similar
wish scrolls are available in the
online shop on the main website Catsup.
They cost £9.99 each, inclusive of p&p. |
|
|
A
wealth of information about craft bookbinding can be found at
www.aboutbookbinding.com
|
Copyright © Ann Dickinson 2010